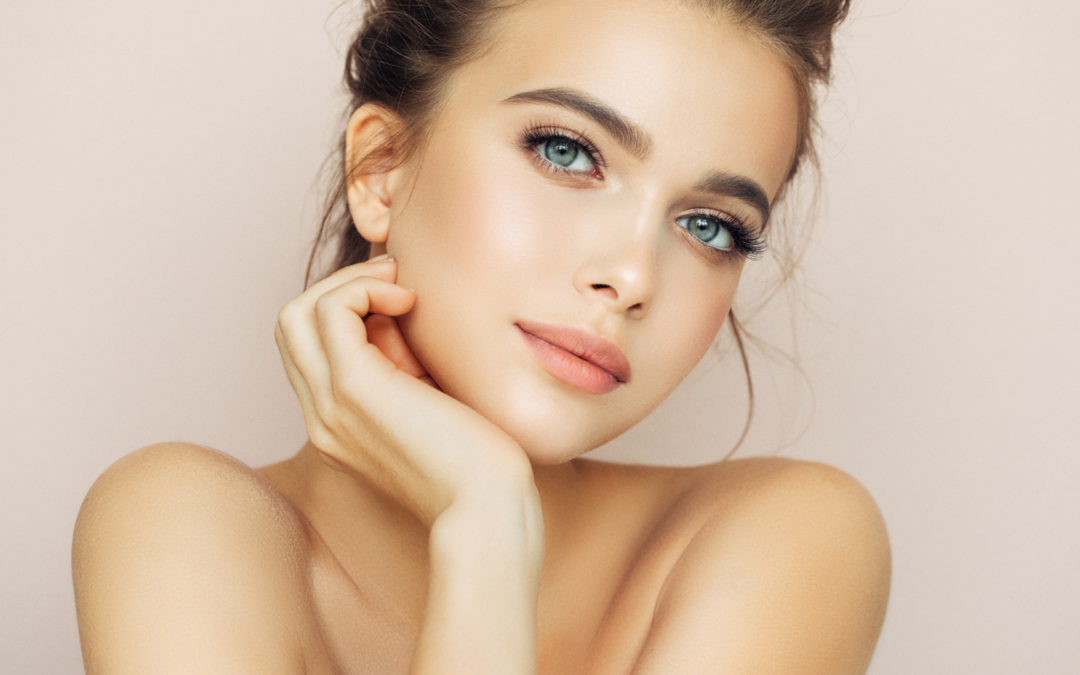
Contour and Highlight. You’ve heard of it, yes? Maybe you’ve even tried to watch some videos and attempt to achieve that natural makeup look, yet you STILL feel like you have no idea what you’re doing or if you’re even doing it “right”. If this is you, well, fear not, beautiful. This post will not only teach you how to contour and highlight YOUR face, but you’ll be a master at it in no time! Let’s get to it.
What is Contour / Highlight Anyway?
Simply put, contouring in makeup is strategically adding depth, shadows, or light to your face to bring balance. It allows you to accentuate or minimize areas of your face that you either like or dislike. Simple right?! And that’s it! Lol.
I’m kidding of course. I know your next question is “How do I determine what part of my face to contour/highlight?” So I’ll go into that next.
Where Should I Contour / Highlight?
To determine where you should be contouring, we first need to find out what your face shape is. An easy way to do this if you can’t tell just by looking at your face is to grab a dry erase marker or even a lip liner. Then, head over to your mirror, tie back your hair, and while looking straight into the mirror, trace the outline of your face (I promise the dry erase or lip liner comes off your mirror easily!) When you’re finished, take a step back and you should be able to see what face shape you lean towards. Remember, you may not fit one shape exactly, for example, maybe your forehead looks more diamond and your chin looks more squared off, (you’d have more of a triangular face shape.) Ultimately though, we’re looking for proportions. We humans, love balance and contouring is about balancing features through highlighting and shading. Therefore, you can change the perceived distance between features or how prominent something looks.
For example, if eyes look close-set, we use a highlighter in the inner corners of the eyes to create the illusion that they are further apart. Likewise, if someone’s face is longer, we use a highlighter on the cheeks to push the face out wider and/or contour at the top and bottom to make the feature look less prominent. And so on.
Now that you have your face shape, read on to find what that may look like for you!

Contour / Highlight For Your Face Shape
With each face shape, there are specific features we want to contour/highlight to achieve that natural makeup look. Let’s take a look at each face shape.
Oval Face Shape

Since an oval face is considered well-balanced, you can focus on bringing out your best features and adding some depth. Apply your contour product to your forehead, chin, and cheekbone area (underside) to make them a little more defined. Optional: You can contour along the jawline if you want to give your jaw a little sharper definition.
Apply your highlighter to your forehead, and cheekbones. This will brighten up the face and balance out where you contoured.
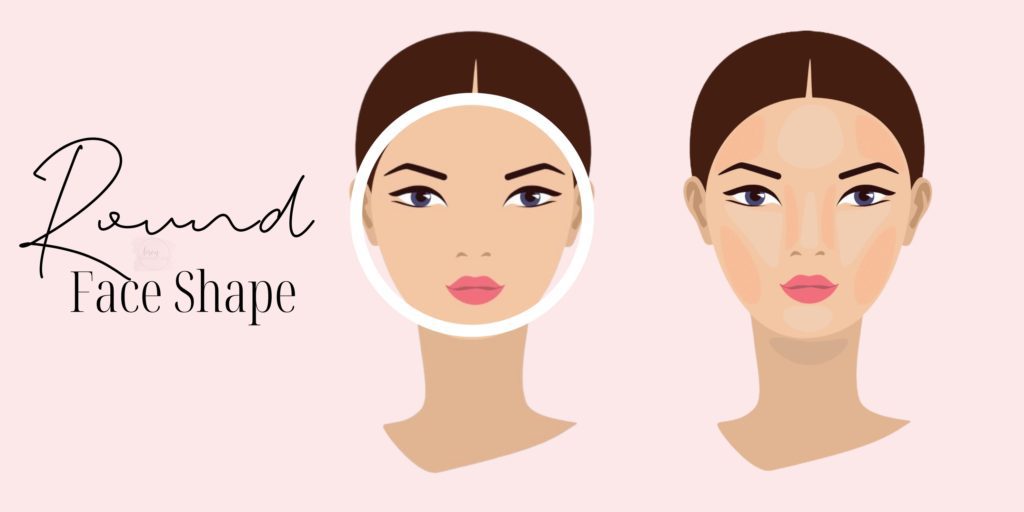
With a round face, the goal is to create more angles, diminish the roundness, and slim down the sides. To do this, you’ll want to apply your contour slightly onto and under your cheekbones, moving into the hollows of your cheeks. Start by applying at the cheekbones and then lightly work down into the hollows. To bring in the roundness on the forehead, apply your contour to the sides of your forehead – just the sides! Otherwise, you’ll just be rounding out your forehead. Then apply your contour along the sides of your jaw starting from right under the ear. This will also help minimize the roundness & fullness of both your jaw and lower cheek areas.
To bring attention to the center of your face, apply your highlighter to the very center of your chin, forehead, and the highest points of your cheekbones. For the forehead, be sure to start from between the brows and go upward. Optional: You can apply your highlighter in a vertical line right down the center of your nose.
Diamond Face Shape

The pointiness of the chin and the narrow hairline of a diamond-shaped face can sometimes seem a little harsh. If you want to soften things up, try adding your contour at the very bottom of your chin (where it’s pointy) and the very top of the forehead/hairline, where it’s most narrow. You can also contour the bottom edge of your cheekbones (the underside).
As for highlighting, since your forehead and chin are narrow, you can create more fullness in those areas by applying your highlighter to the middle section of your forehead, cheekbones, and the center of your chin.
Heart Face Shape

For a heart-shaped face, we want to attempt to draw attention away from your chin, narrow down the forehead area, and accentuate your best features (like the cheeks).
To do this, Apply your contour lightly to the pointy bottom tip of the chin, along your outer hairline & forehead area, moving into the temples and to the cheekbone area. You don’t need to contour the jawline.
Apply highlighter to the center of the forehead and down the nose to bring attention to the center of your face and balance the upper and lower portions of your face. Optional: You can also apply a matte highlighter along your jaw to add more fullness if you feel you need it there.
Square Face Shape

If your face has a square shape, you want to soften your features by contouring your face’s outer edges & corners. Think of it like rounding off the four corners of a square, along the outer corners of the jaw and the forehead.
You can also contour the cheekbone area.
You’ll use your highlighter to soften things a bit and shift focus away from your face’s angles. To do this, you just need to apply to your chin, the center of your forehead, and down the center of the nose. If you have a really strong chin, skip highlighter there.
Great! Now you know your face shape, and you know WHERE to apply your highlight and contour, but now let’s get into WHAT products will be best for you and HOW to apply them, shall we?
What Highlight / Contour Products Should I Use?
There are two basic formulas for highlight and contour. That’s Powder or Cream.
Powder if:
- You’re a beginner (powder gives you more control)
- You have oily skin
- Less time consuming
- More subtle
Creams if:
- You have very dry skin
- You have lots of fine lines
- Gives you a bolder, more dramatic contour look
As for the color of contour, always go with a MATTE formulation. The whole point of contour is to flatten and shade (think of a shadow, they are more grey/taupe), so any shimmer or light-reflecting pigments will draw attention to it- this includes bronzers. Bronzers go in different areas to give the skin a sunkissed glow- not to shade.
You’ll want a color 2-3 shades darker than your natural skin tone (unless you have very light skin, which I would say only one shade darker) and leaning more towards a cooler, almost grayish undertone.
For Highlight, you can go with either a matte or shimmer; however, certain areas of the face look more natural using a matte finish. If you decide to use shimmer, it’s best to stick to the following areas when applying your highlighter: cheekbones, inner corners of the eyes, possibly above or below the eyebrow arch, and perhaps a tiny bit above the cupid’s bow. You can also try down the bridge of the nose and forehead, but sometimes it’s best to avoid the T-zone with shimmers if you have oily skin.
As for color, go 1-2 shades lighter than your skin tone.
When picking a highlighter, to reduce the chances of caking, it’s always a good idea to stick with the same formula you use for your contour.
Now, as for HOW to apply your highlight and contour, take a look at these short videos below that will walk you through it and show you which tools to use depending on what types of products you’re using!
How to Contour / Highlight: Tools, product, application
How do you rank when it comes to a holistic approach to your health? Take my quiz to get started HERE.